Creating a Travel Route or Points of Interest Google Map in your Craft CMS Blog

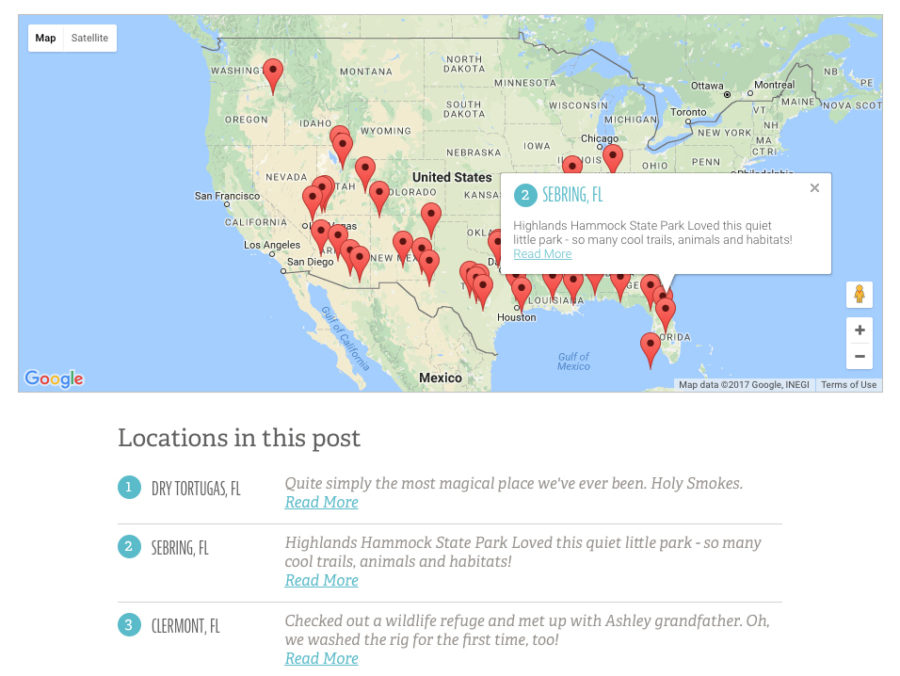
In my last article, I talked about some quick ways to level up your Craft CMS blog. I mentioned that on my family's travel blog, we like to include a map of locations we talk about in each post. Nathaniel Davis asked in the comments if I could share more details on how that map is setup so here we are!
First, we started with the Google Maps for Craft plugin and created a custom map field called blogLocations.
Please note, this link above has been updated to a new repository that is being kept up to date. You will have to create a Google API key and enter it in the plugin's settings.
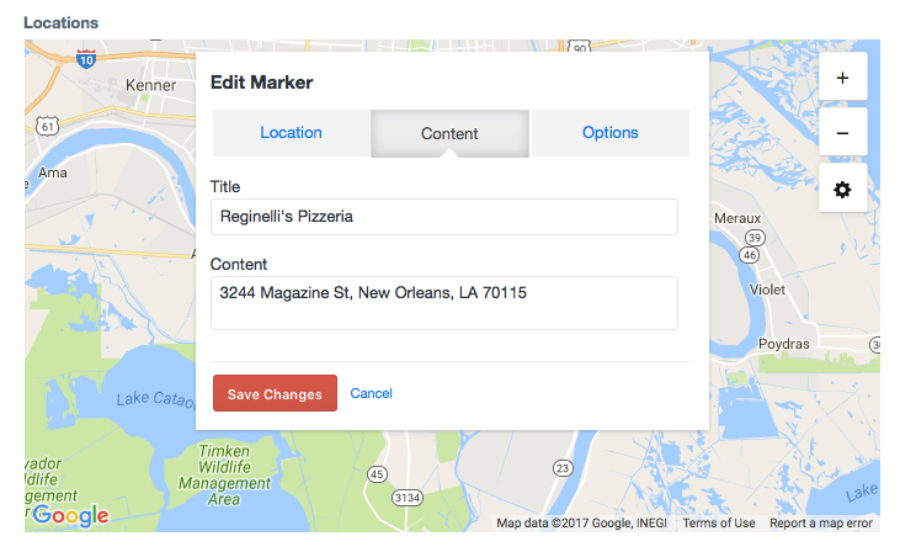
Adding a marker is as simple as searching a location or city and state. The field pulls the latitude and longitude for you automatically. For our setup I jump over to the content tab and put in a custom title and content.
For our travel routes that means hand coding <a href=""> tags which is kind of a pain, but it works.

We write about all manner of things, so not every post has a map - and we don't want to be pulling in all that gnarly javascript if we don't have to. So we start with a conditional statement to look inside the field's markers and see if there's something there before showing it.
{% if entry.blogLocations.getMarkers is not empty %}
Then we want to set some options for Google Maps. You can see I'm setting the ID, width and height as well as making sure the map doesn't zoom in and out as the user scrolls over it.
The syntax here really tripped me up for a while. Why do you need another options inside the options? I'm not sure. I think it has something to do with specific Google Maps options that aren't built into the plugin by default, but still accessible if you use Google's syntax. Maybe. I'm just guessing.
All I know is I finally got it to work!
{% set options = {
     id: 'map',
     width: '100%',
     height: '400px',
     options: {
          scrollwheel: false
                }
} %}
Then we set a variable for the map to pull in the options we just set.
After that we start a for loop to get the markers to place on the map. I wanted my info boxes to have certain styling and information in them so you can see that I had to set an address variable and put my content in manually - then call it further down in the marker loop.
They syntax here is weird also - you can't use craft brackets, but instead wrap each variable with a '~ xxx ~'.
Finally, the {{ map }} tag pulls it all together, injects the javascript and makes the magic happen.
{% set map = craft.googleMaps.map(options) %}

     {% for markerCustom in entry.blogLocations.getMarkers() %}
  {% set address = '<div class="marker-content"><h3><span class="count">' ~ loop.index  ~ '</span> ' ~ markerCustom.title ~ '</h3><p>' ~ markerCustom.content ~ '</p></div>' %}
          {% set marker = {
               lat: markerCustom.lat,
               lng: markerCustom.lng,
               content: address,
          } %}

          {{ craft.googleMaps.marker('map', marker) }}
     {% endfor %}

{{ map }}
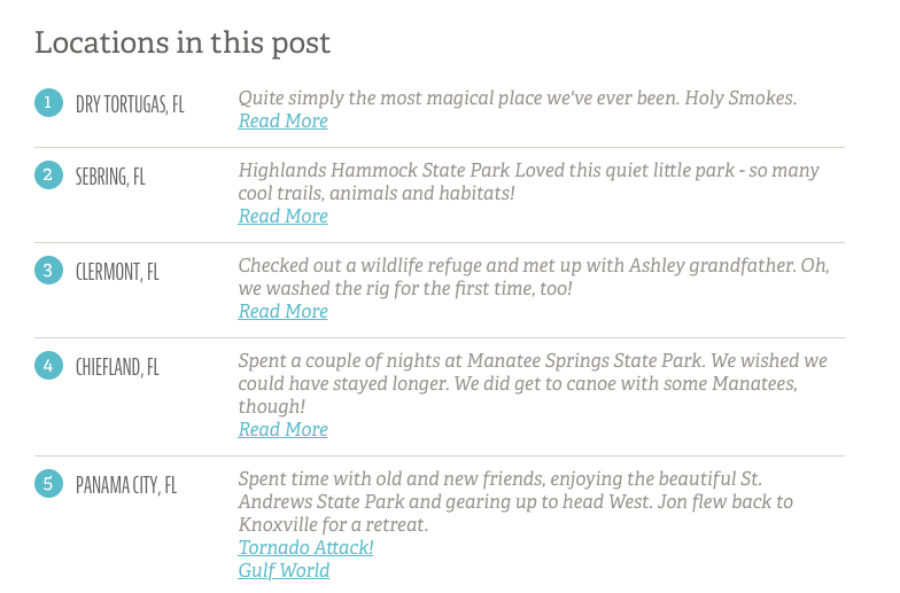
I wasn't sure users would know that they could click on each maker pin for more info, so I also included a list with the same information below. This worked especially well for our yearly travel route posts to give them a sense of order and faster links to corresponding articles.

Here we start the loop by getting the markers first thing, use a loop.index to number each result and pull the content in the way we want it.
<h2>Locations in this post</h2>
<table class="location-grid">
     {% for marker in entry.blogLocations.getMarkers() %}
     <tr>
          <td class="row-count"><span class="count">{{ loop.index }}</span></td>
          <td><h4>{{ marker.title }}</h4></td>
          <td><p>{{ marker.content|raw }}</p></td>
     </tr>
     {% endfor %}
</table>

<!-- Don't forget your ending if statement -->
{% endif %}
You can download a text file of the whole thing below.
And that's how you wrangle a multi-location map into a Craft CMS travel blog! Using this on your own site? I'd love to hear about it.
Comments